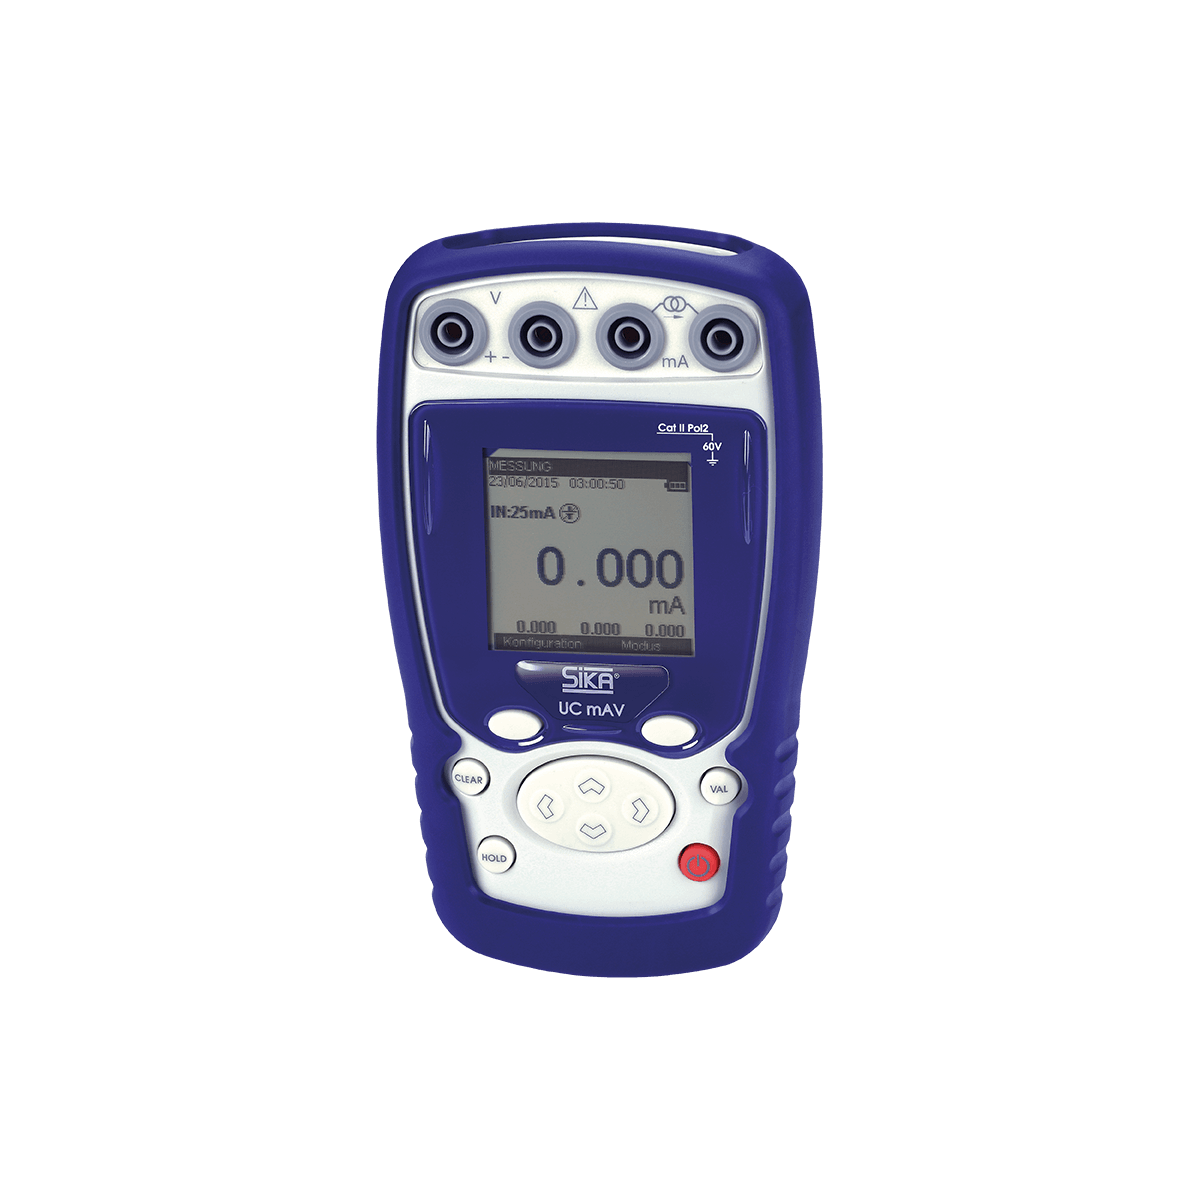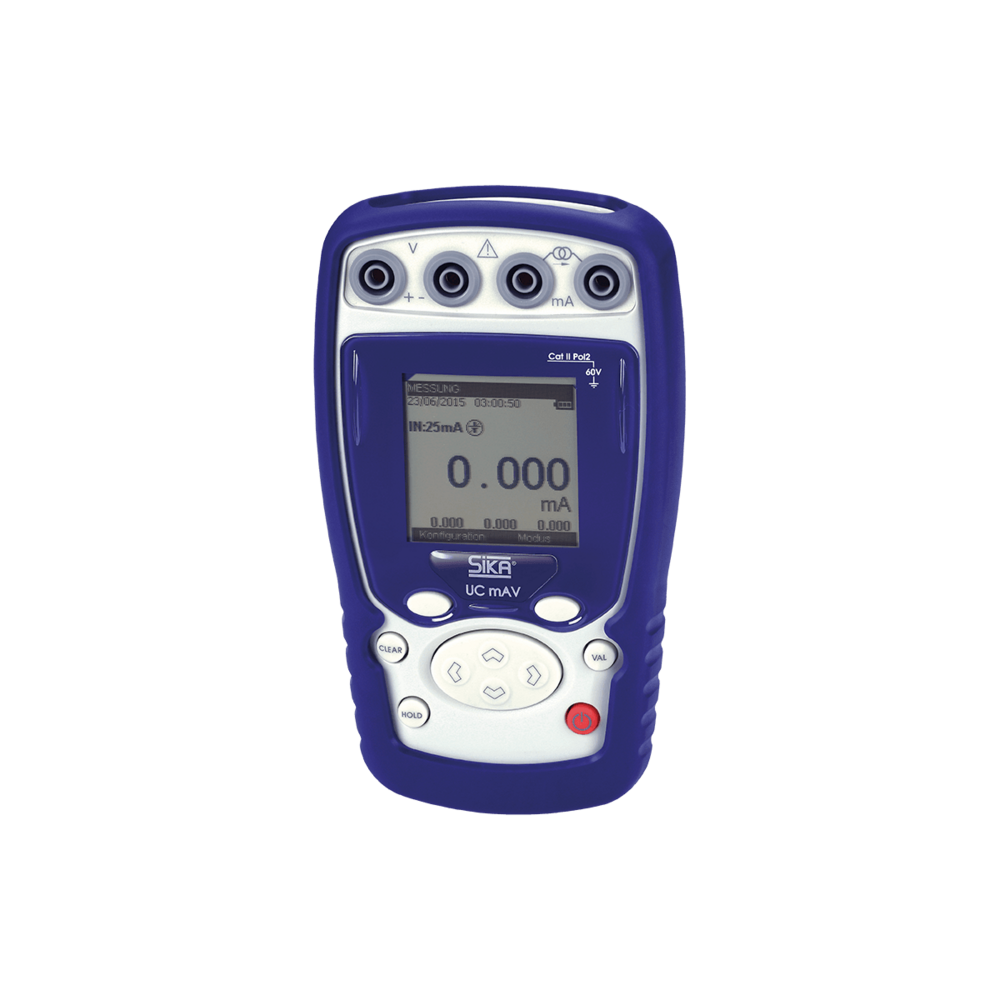


Mono functions process calibrators / For current and voltage signals
Type UC mAV.2
- Precise simulation and measurement of RTD signals
- Simple operation and robust casing
- For mobile on-site calibration
Configure product
SIKA process calibrators have been developed to make your calibration and maintenance tasks easier and more flexible. Different test sequences can be completed in one pass without changing instruments. This saves time. The monofunction process calibrators are the ideal aid when only one type of signal is required.
The main application areas are
• in service, maintenance and repair
• in quality assurance
• in test labs and in research
• in measurement and control technology
• in the process industry
• in energy supply
• in machine and apparatus construction
as well as in many other areas.
The backlit multifunction display is used for clear and unambiguous display of the input and output values as well as all the settings made.
In addition to the widespread keyboard-guided operation by means of rubber keys, there is also the convenient menu-guided operation via function keys, navigation cross and numeric keypad. This also allows more extensive functions to be depicted and activated very easily.
If a periodic retrieval is required, an automatic program run is executed. The signal type, duration and value are defined here. A possibly desired start delay, the number of repetitions as well as a continuous, linear ascending or descending course are individually specified.
Signal values that are always required are stored in the simulator in a fixed or flexible manner and can be quickly called up at the push of a button.
If a discontinuous course with changing signal values is to be generated, then the synthesizer function can help. Here, previously programmed, changing signal heights are output at the simulator output.
This makes it easy to define a wide variety of stairs, ramps or synthesizer values and retrieve them one after the other, which helps in fulfilling the test task.
If the characteristic measurement properties and deviations of a sensor are known and are available in the form of a calibration certificate, they should also be taken into consideration during the measurement. Only this way exact measurement results can be achieved.
By offset programming, the simulator input can be shifted linearly and thus approximated to the existing measurement curve of the sensor. This single-point adjustment is the simplest and most common way to improve the measurement results.
If there are higher requirements on the measuring accuracy, a multi-point adjustment can be used. Here the input is ideally adapted to the real sensor curve by means of four linearisation points and thus linearity errors are compensated. Up to five different adjustment records can be directly stored and easily retrieved.
Request your personal offer for the product you have configured here. If you have any further questions, please do not hesitate to contact us. You will find your personal contact person here.